
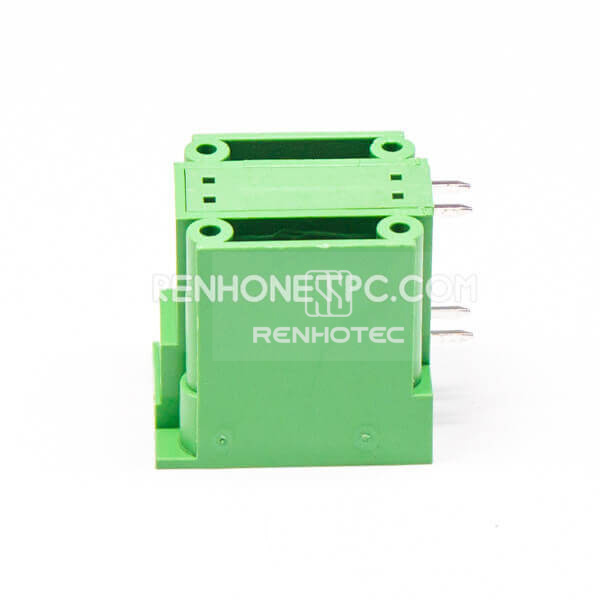
Public Part No. RHT-665-2519
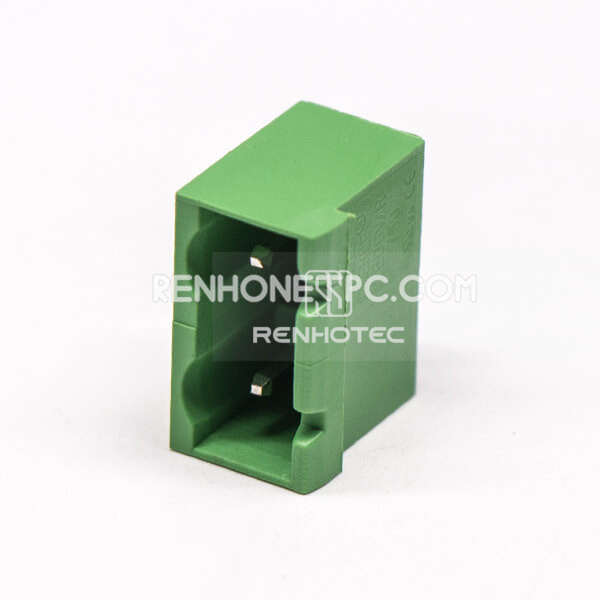
Terminal Block Plug Connector Assemble 3pin 180 Degree PCB Mount
- Pin Count
- 3 Pin
- Gender
- Male
- Orientation
- Straight
- Mounting Type
- PCB Mount / Through Hole
Compare pluggable, spring, screw and barrier terminal blocks, terminal strips and battery connectors. Start with the connection style, then match the contact count, pitch and mounting arrangement to your assembly.
208 productsPage 9 of 11
Public Part No. RHT-665-2519
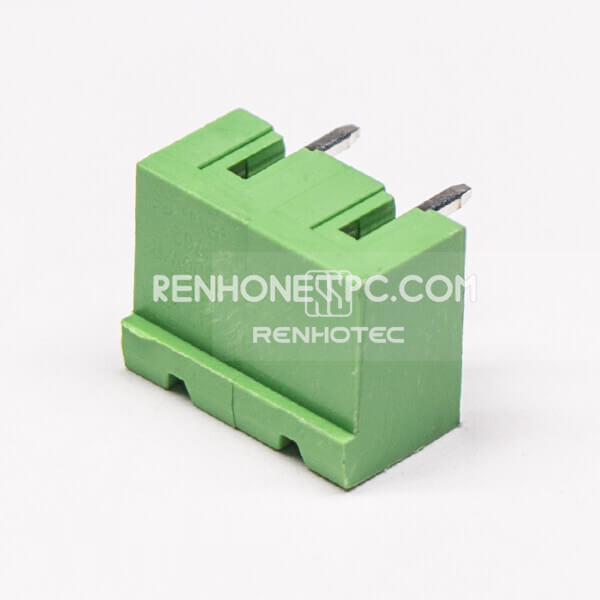
Public Part No. RHT-665-2520
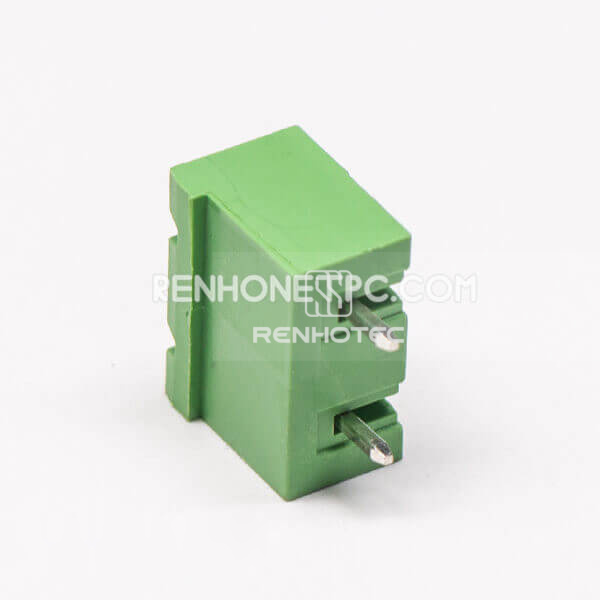
Public Part No. RHT-665-2521
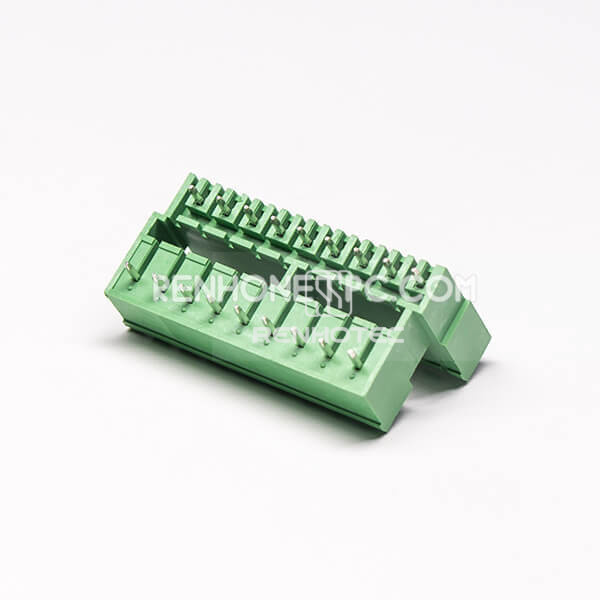
Public Part No. RHT-665-2522
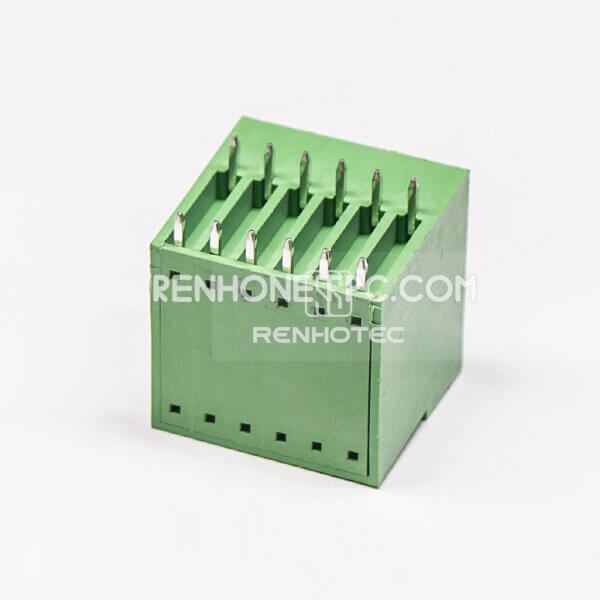
Public Part No. RHT-665-2523
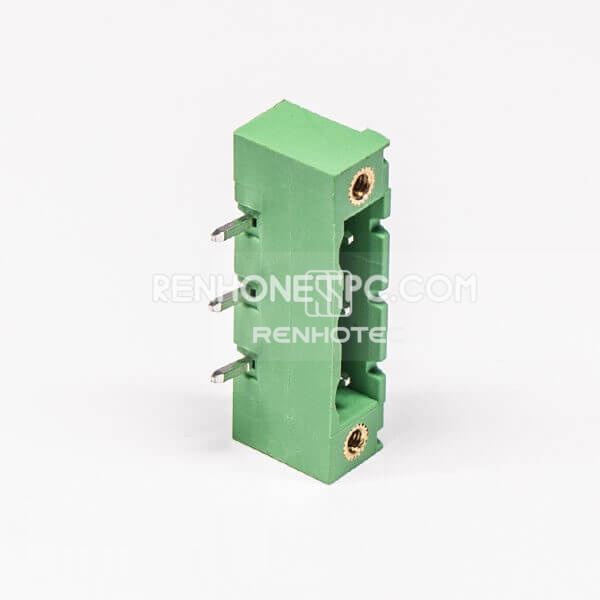
Public Part No. RHT-665-2524
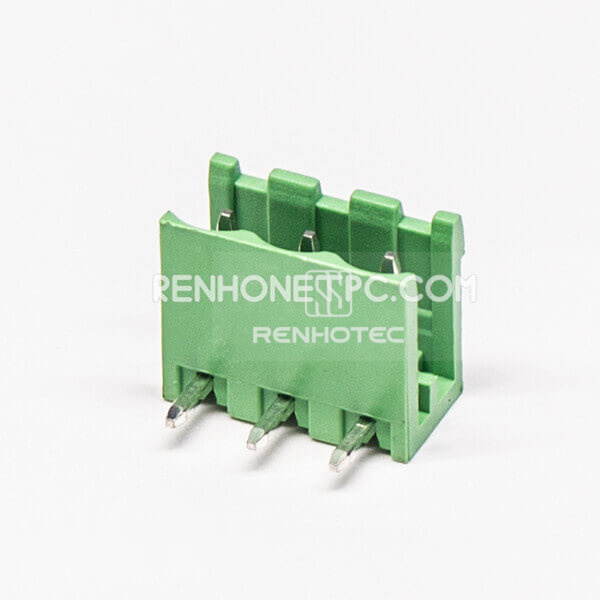
Public Part No. RHT-665-2525
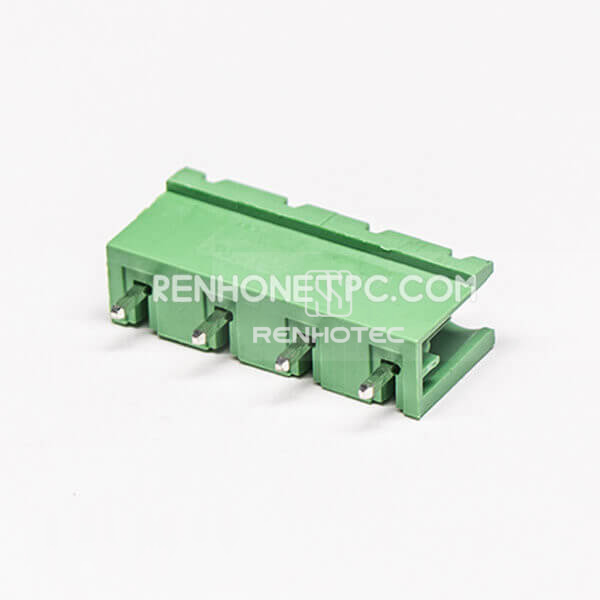
Public Part No. RHT-665-2526
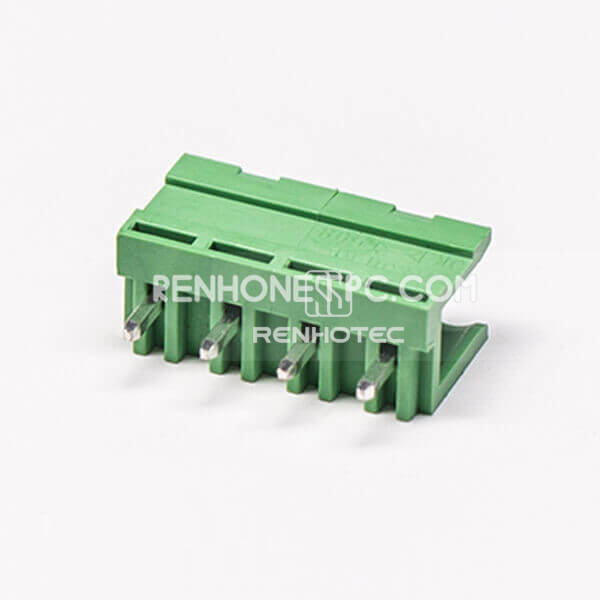
Public Part No. RHT-665-2527
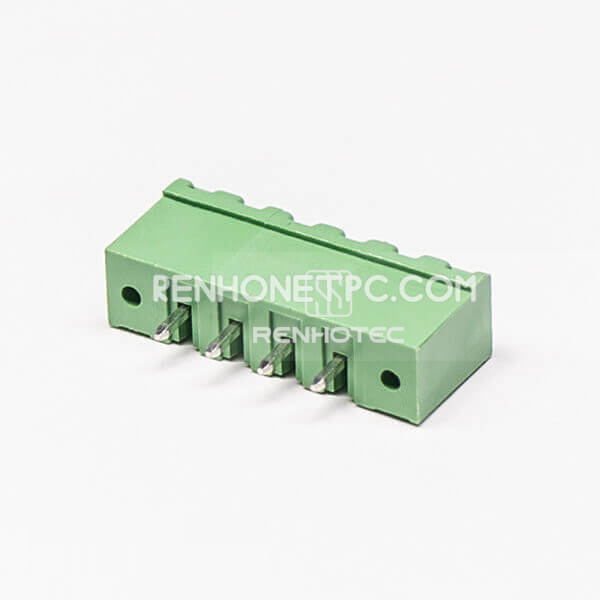
Public Part No. RHT-665-2529
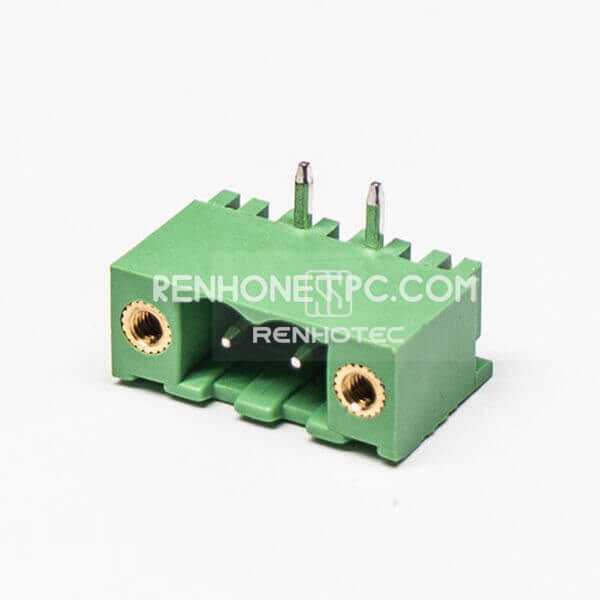
Public Part No. RHT-665-2530
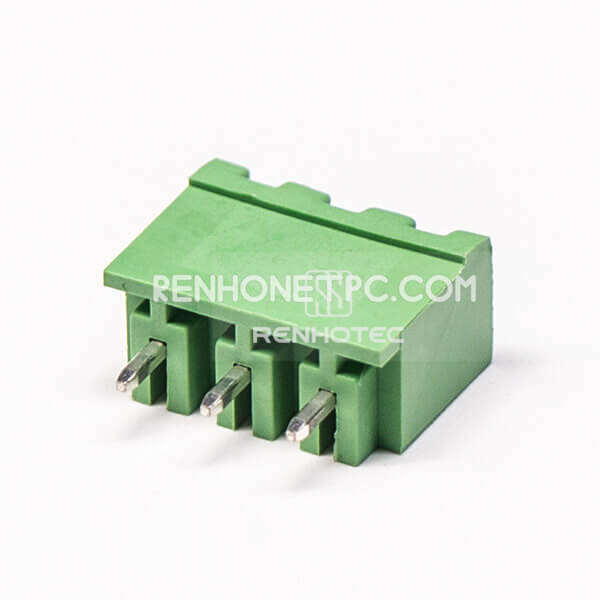
Public Part No. RHT-665-2531
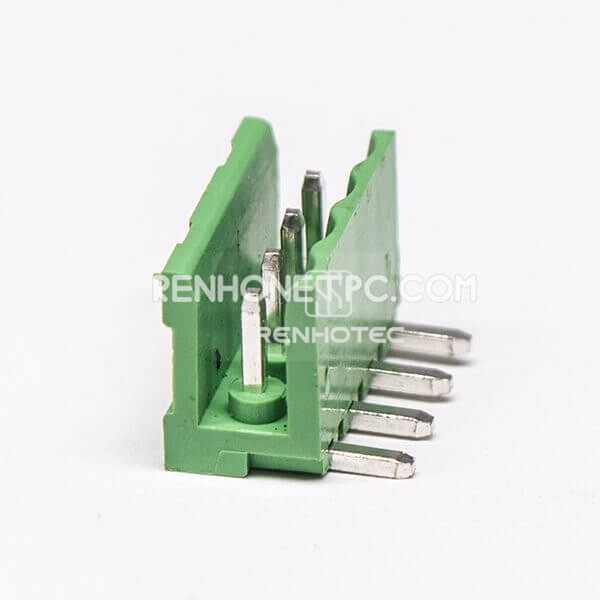
Public Part No. RHT-665-2532
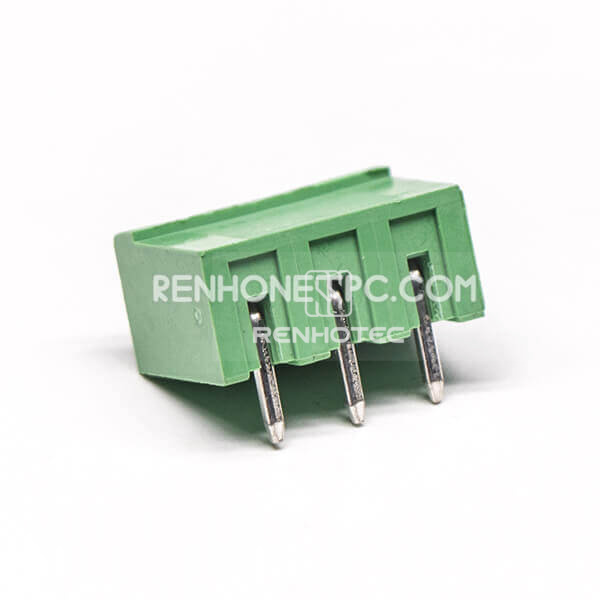
Public Part No. RHT-665-2534
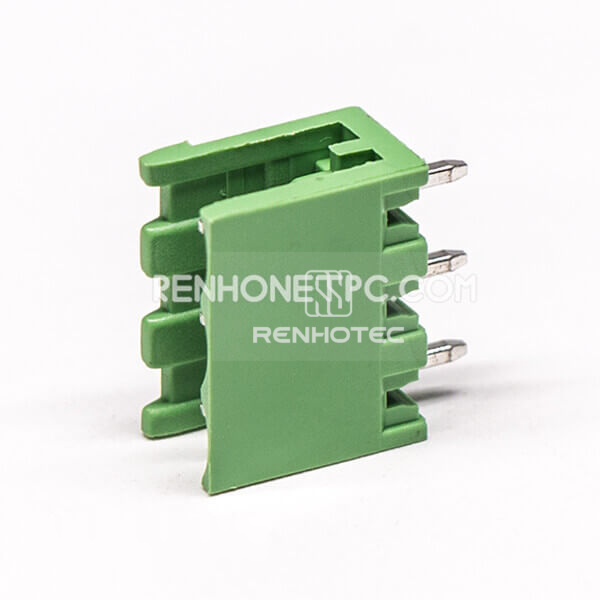
Public Part No. RHT-665-2535
Public Part No. RHT-665-2536
Public Part No. RHT-665-2537
Public Part No. RHT-665-2538
Public Part No. RHT-665-2539
Public Part No. RHT-665-2540
Pluggable parts need a matching mating half; spring and screw terminals need the correct conductor and termination details. Barrier blocks and terminal strips also vary in fixing arrangement. Battery connectors require the matching contact layout and polarity. Straight and right-angle versions, different pitches and mounting types are listed across the range; check the selected product rather than assuming a shared specification.
Choose the connection style first. Next, match pole count and exact pitch, followed by orientation, footprint and fixing geometry. Check conductor size and the selected part’s voltage and current ratings against your requirements. Where several pitch options are listed, confirm which option belongs to the part before committing the board layout.
No. Contact layout, housing geometry, polarization and fixing features must also match. Use drawings of both halves to confirm the pairing.
Check wire bend space, the direction of mating and removal, and access for any termination tool. The required clearance depends on the selected part and the surrounding assembly.
Ask for the selected part’s drawing or specification and provide your operating requirements. Do not carry a rating or dimension across from a similar-looking terminal block.
Include the part number, mating connector, key dimensions and required quantity in your inquiry.
Connector requirement
Share your connector requirements and the specifications you need.
Terminal Block Plug Connector Assemble 3pin 180 Degree PCB Mount2 pin Terminal Block Connector Angled Through Hole PCB Mount2 pin Terminal Block Straight Through Hole Pluggable PCB MountTerminal Blocks Double Layer Green PCB Terminal Block ConnectorPlug Terminal Block 12pin Square Electronics-Salon Assorted KitPCB Terminal Blocks 3pin Plug Headers with 2 Screw Holes ConnectorPCB Terminal Block Connector 3pin Right Angle Pluggable HeadersPlug in Terminal Block 4pin Straight PCB Mount Electric ConnectorPlug in Terminal Block Connector for PCB Mount Green Straight 4pinTerminal Block Pluggable Connector Straight Type Green2 pin Terminal Block Angle Green Pluggable Type PCB ConnectorTerminal Block Header Male Pins Straight Through Hole Connector for PCB Mount4pin Angle Terminal Block Pluggable Connector for PCB MountRight Angle Terminal Blocks 3pin Green Plug-in ConnectorTerminal Block Straight Through Hole Pluggable Connector with PCB MountTerminal Block Plug Socket 3pin Straight Through Hole Green Pluggable Connector3-Pin Plug-In PCB Terminal Block, Solder Termination3 pin Terminal Block Connector Right Angle with 2 Screw Hole Green Pluggable Connector3 pin Terminal Block Green PCB Connector Plug Headers2 pin Terminal Bblock Connector Plug Headers Straight Through Hole for PCB Connector